# Admin dashboard
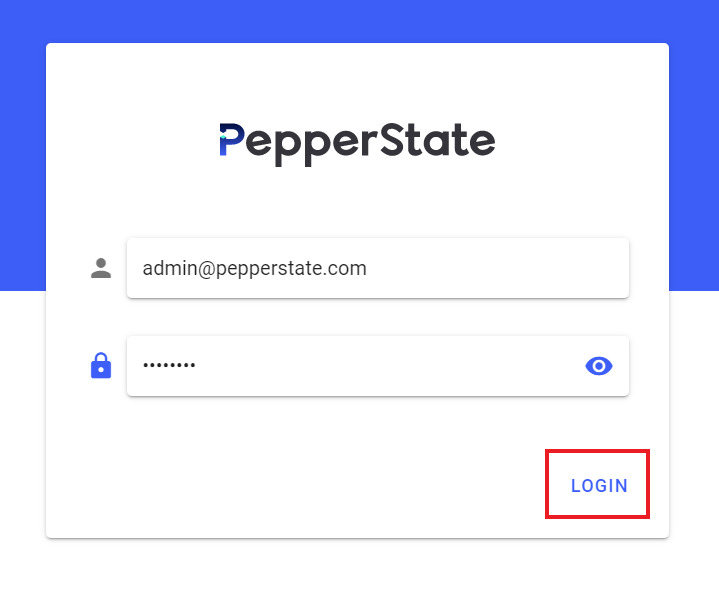
# Login
This page allows admin to login into the admin portal. The admin can verify the entered password by clicking on eye icon in password input field.
TIP
The password is defined in your .env as ADMIN_PASSWORD.
# Home screen
After admin is successfully logged in, he is presented with a home screen which give an insight of the platform. There are three things available:
Graph of confirmed emails / day:
This graph represent the user email confirmation per day which is helpful of admin to view active registration on the platform.

Graph of confirmed investments / month:
This graph represent the investments happened per month. This graph helps admin to analyze in which month most number of investments occurred
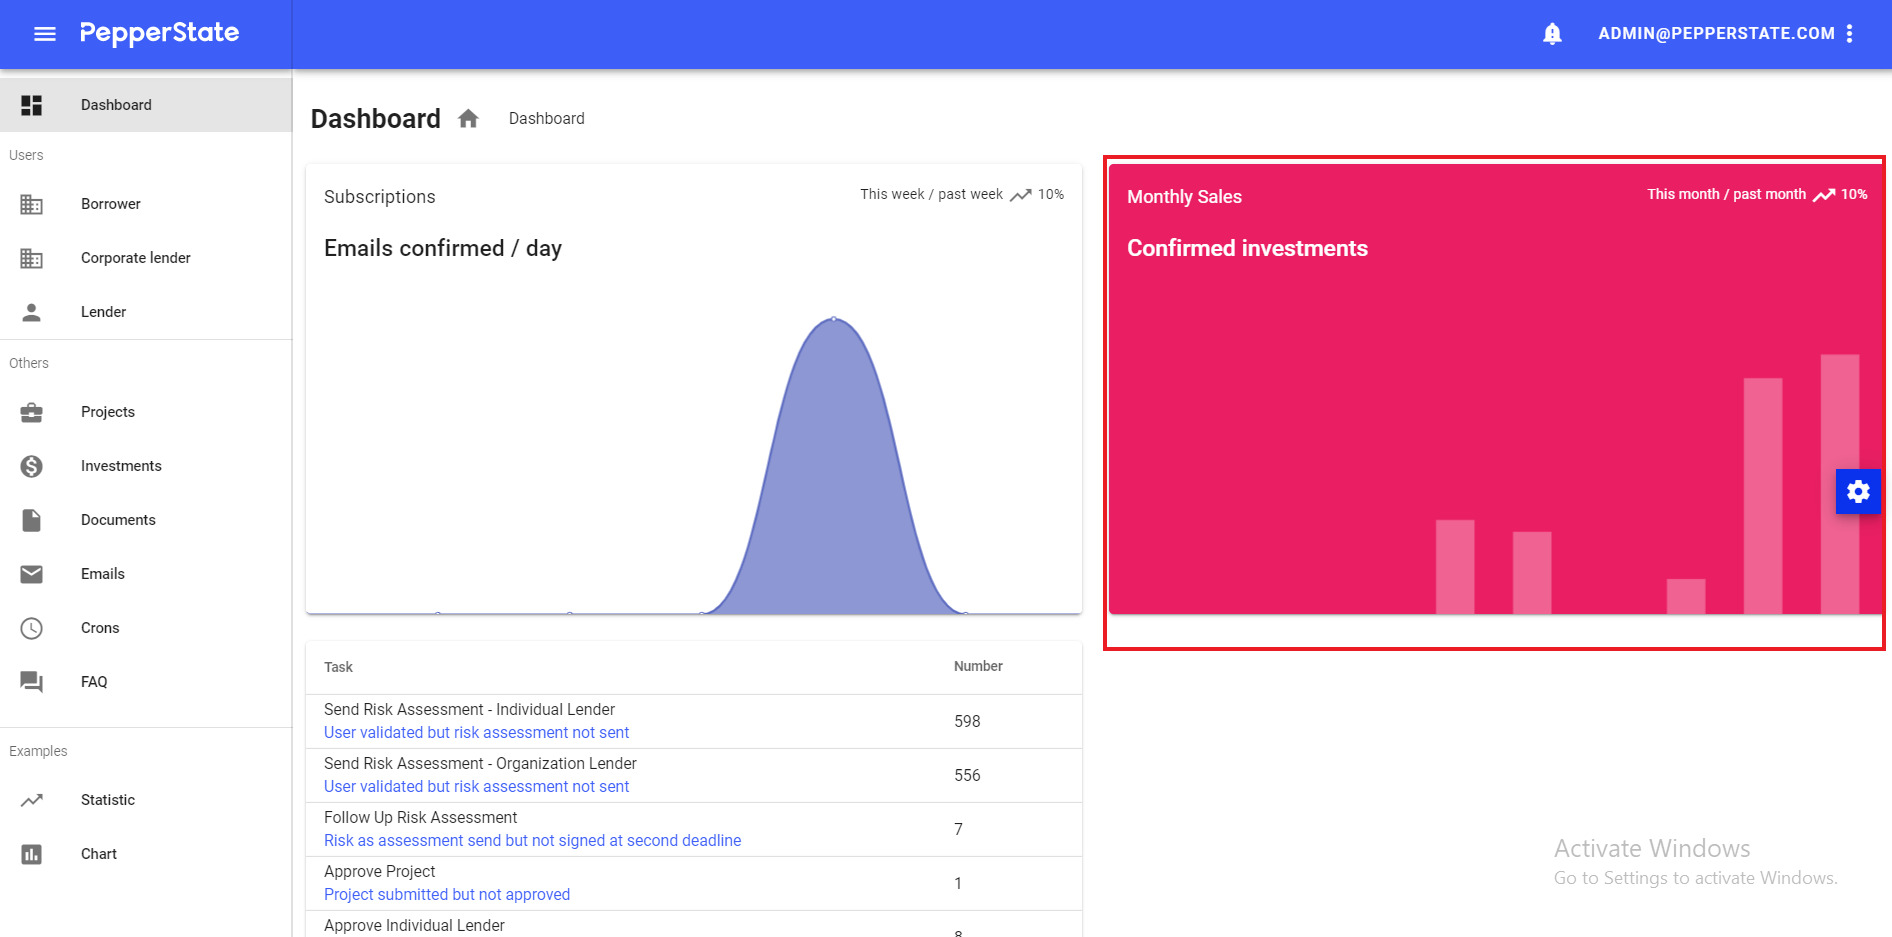
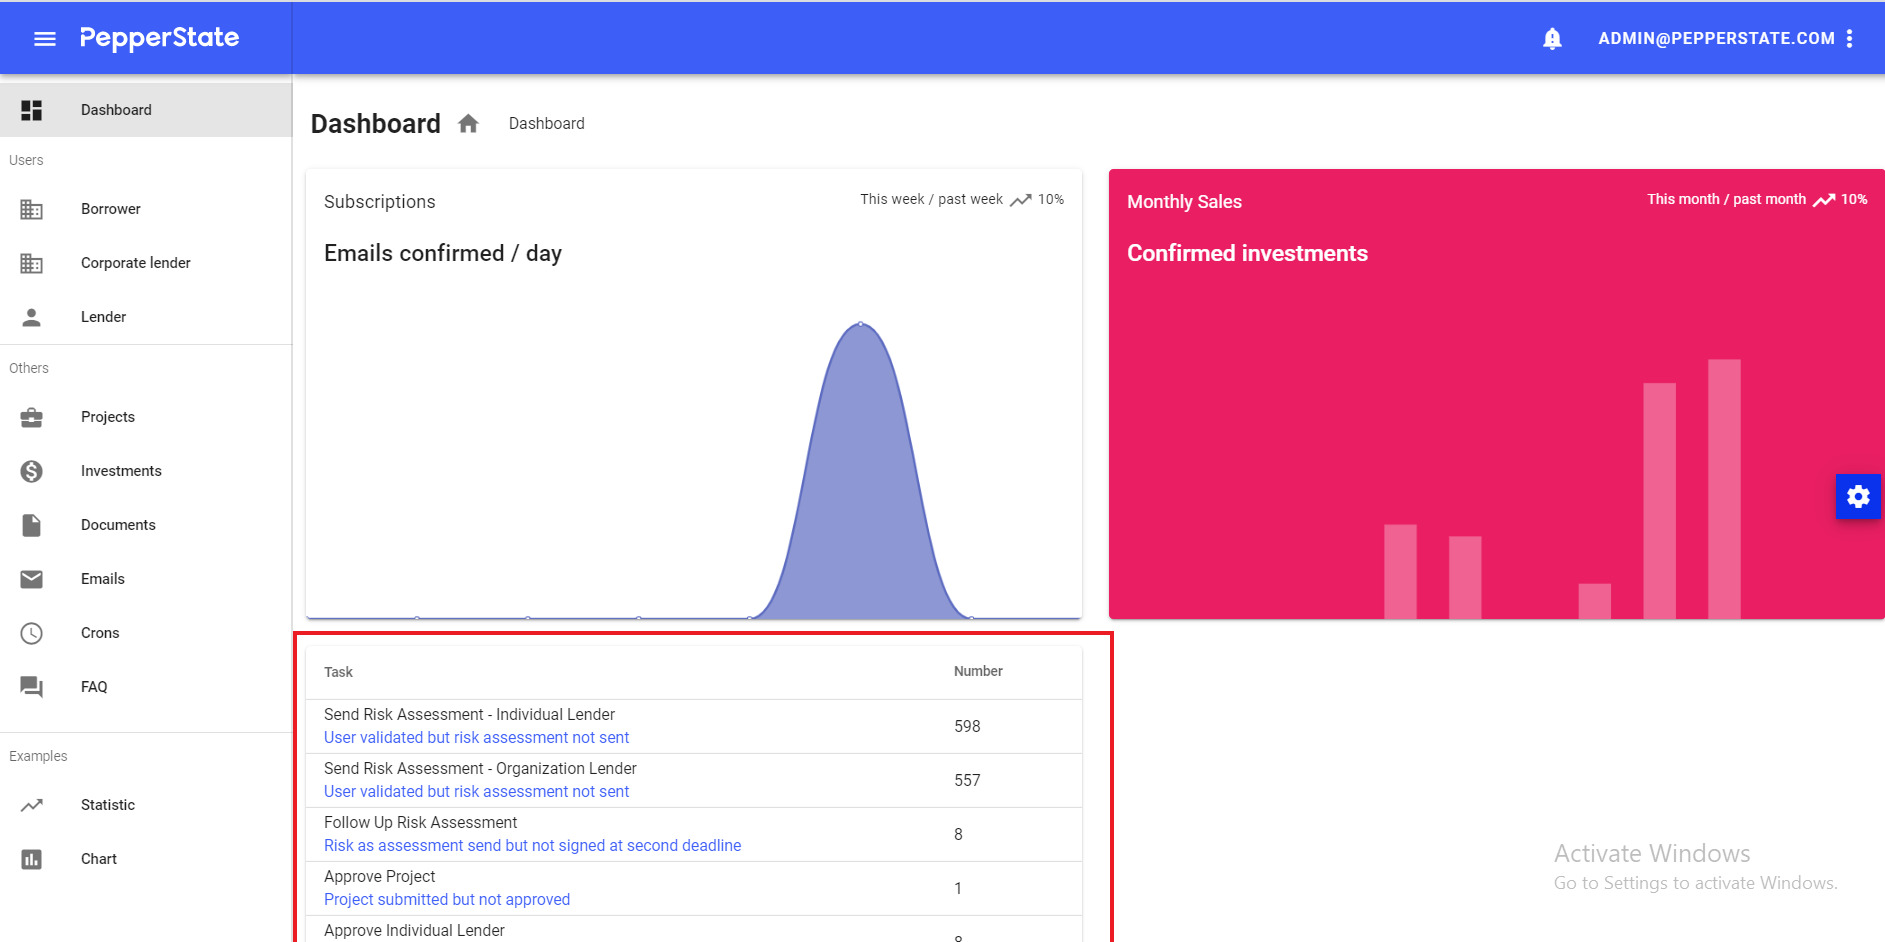
Tasks for admin to complete:
This graph helps admin to measure his performance based on statistics like sending risk assessment, follow up, approving or rejecting project etc
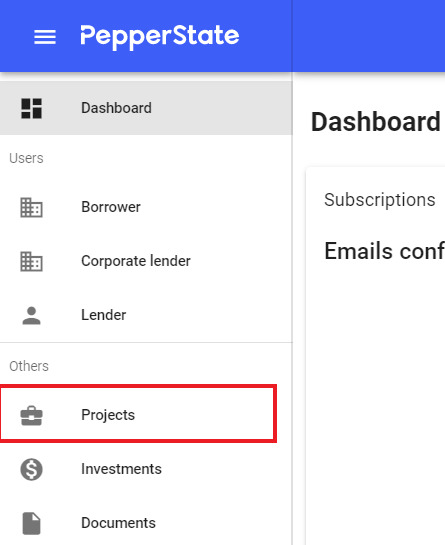
# Project management
# List projects
From left side menu, click on Projects.
The projects are displayed in a table with various columns.
# Find a project
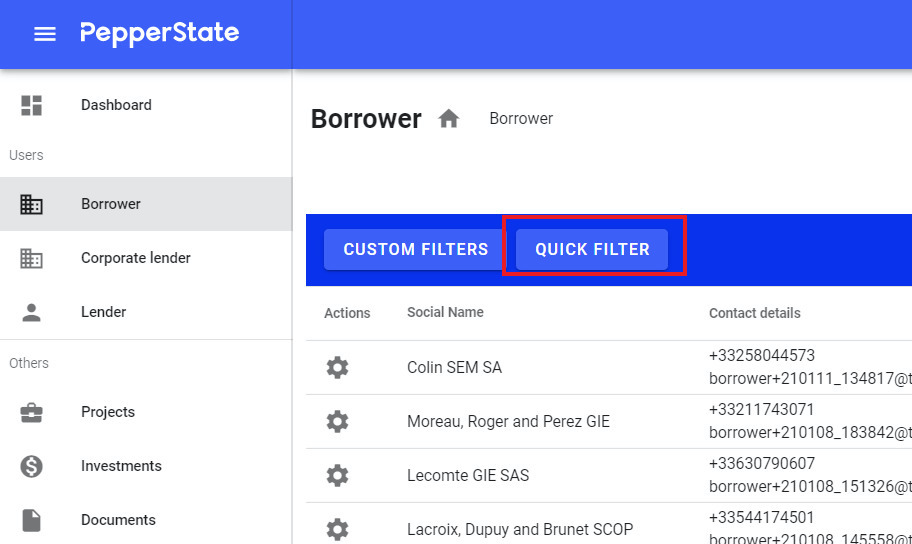
You can filter projects by status using the menu Quick filter.
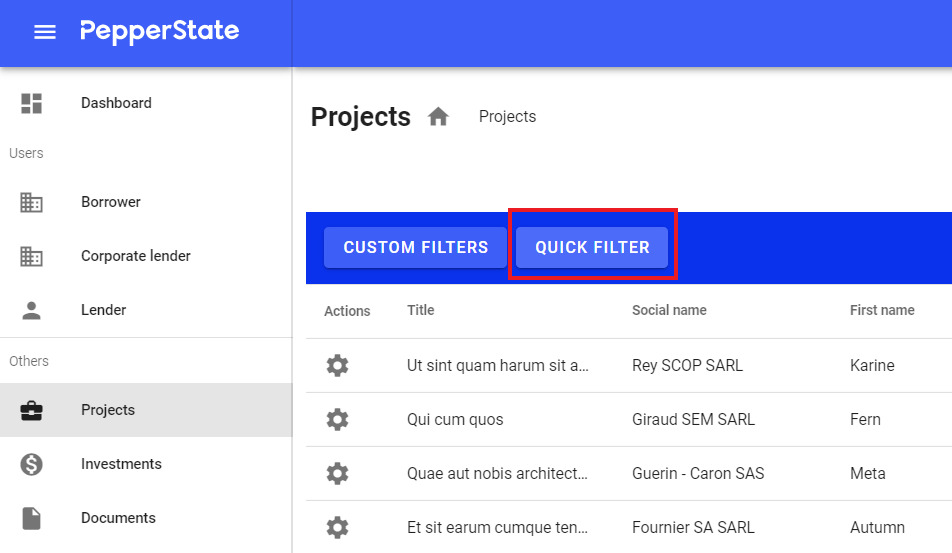
It is also possible to fine-grained filter the projects using the menu Custom filter next to the menu Quick filter.
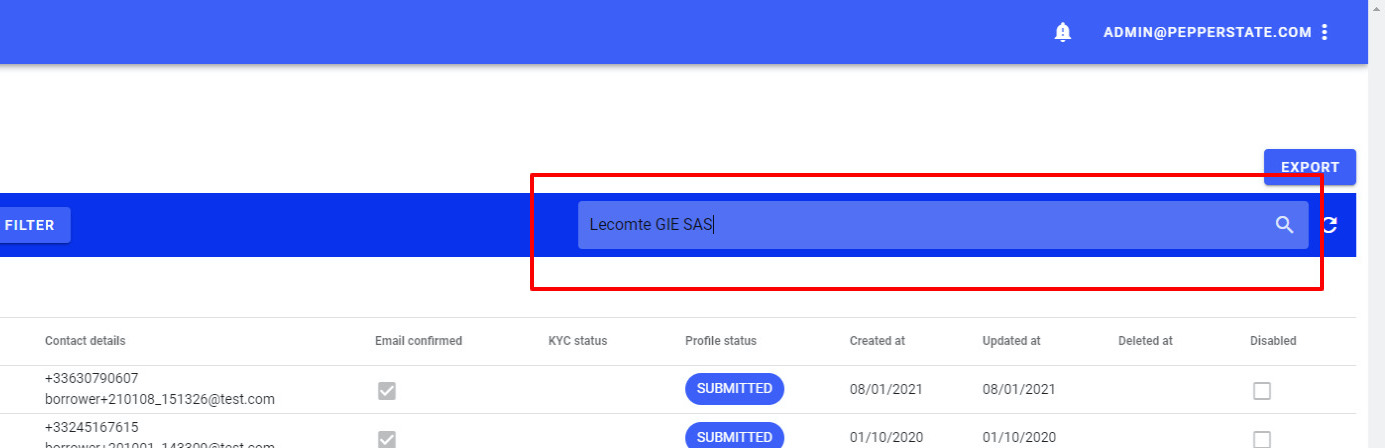
Finally, use the search field to quickly find the desired project.
# Perform actions on a project
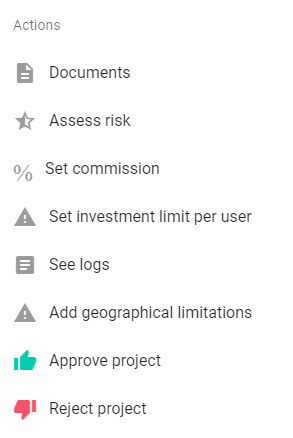
Click on the gear icon of the desired project.
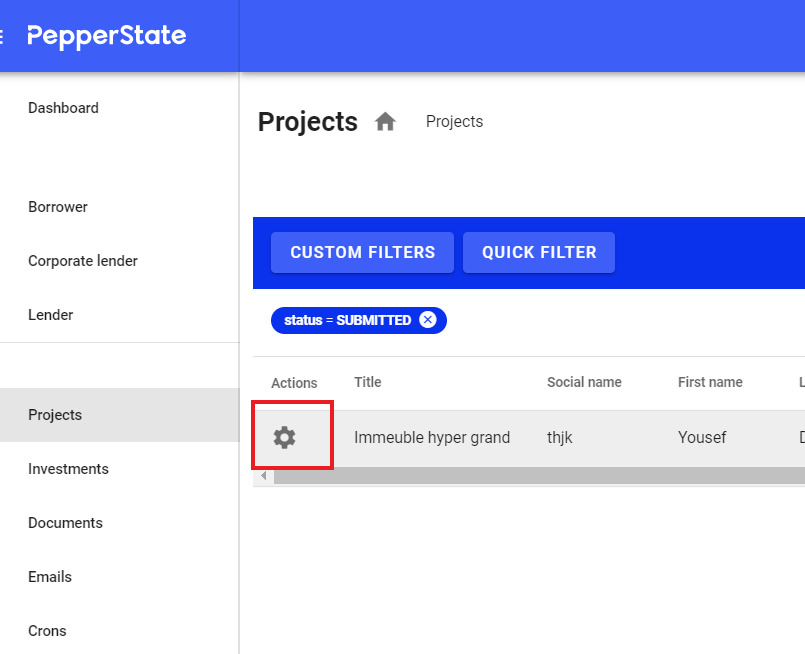
A menu with all the actions will open. This list of actions varies depending on the state of the project.
# Approve a project
Find the project using the menu Quick filter. Projects to approve have the status
SUBMITTED. Select the option status = SUBMITTED and click on ADD.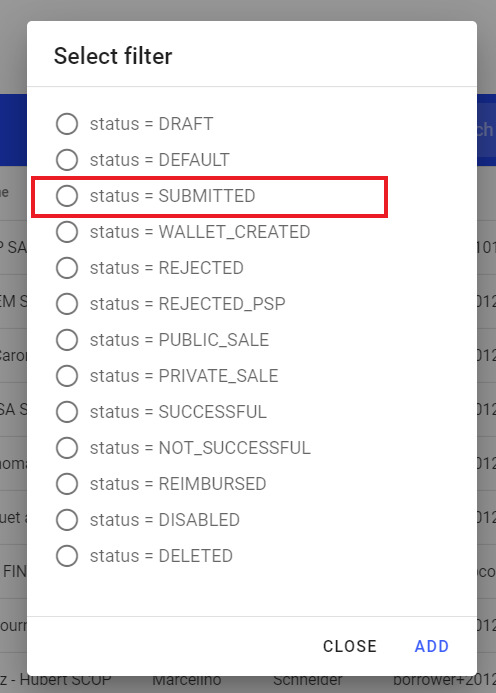
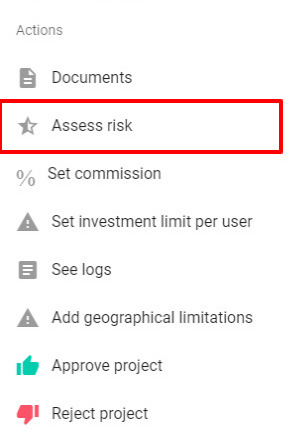
Open the menu of actions.
Before approving the project, you will have to assess the risk. This will give a score for the project. Click on Assess risk.
Fill information for the risk assessment and click on submit.
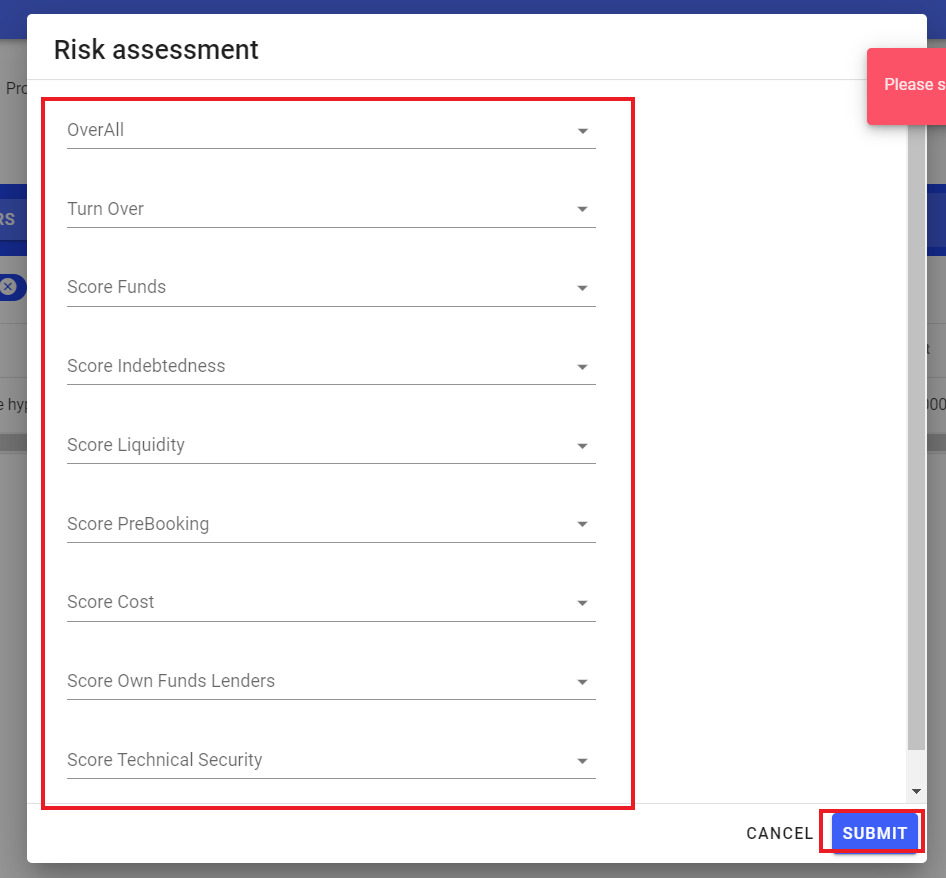
INFO
This action will add the risk assessment in the project data. Once the project is approved, its risk score will appear as follow in the project details page:
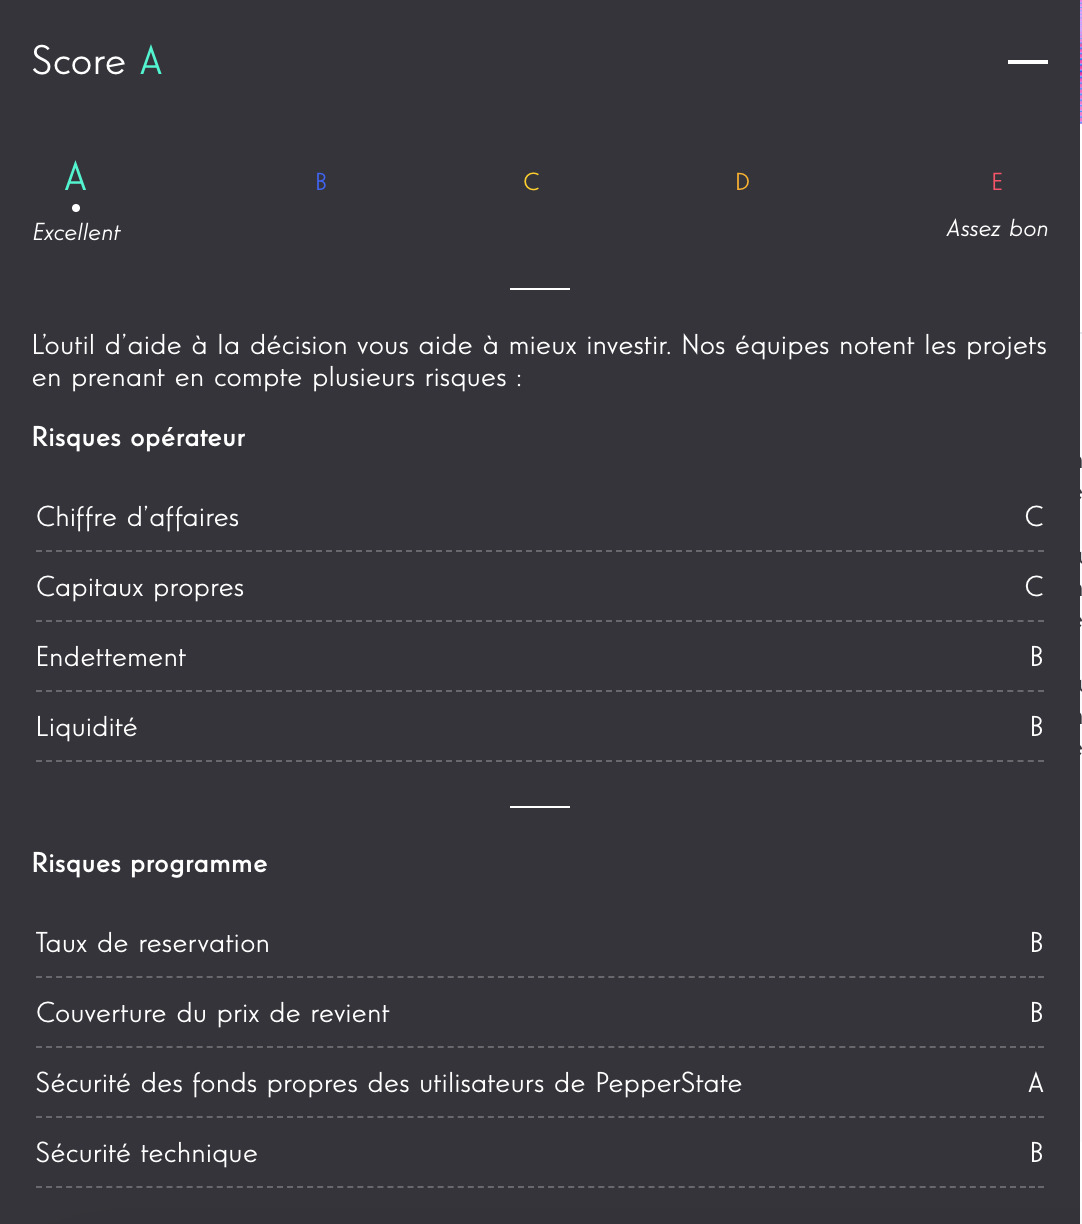
Again, open the menu with the gear icon and click on Set commission to set the desired commission.
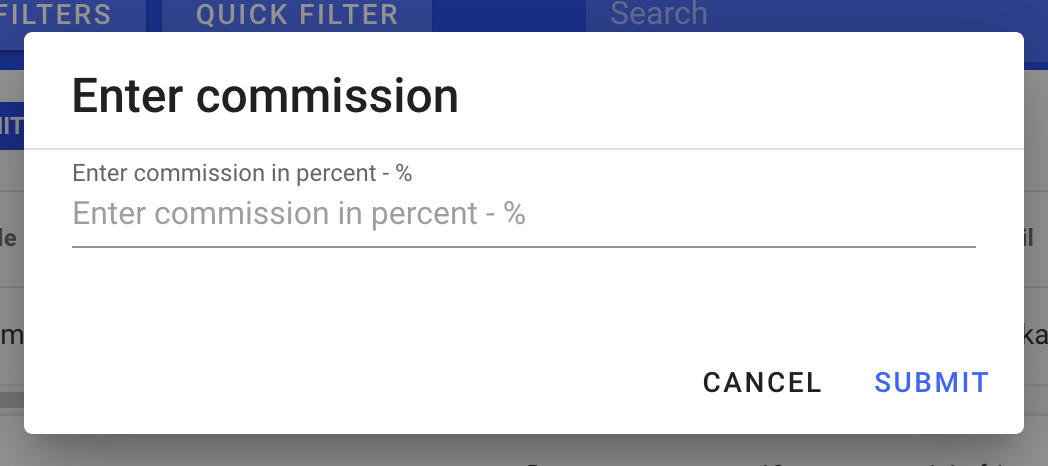
INFO
This action will add the commission in the project data.
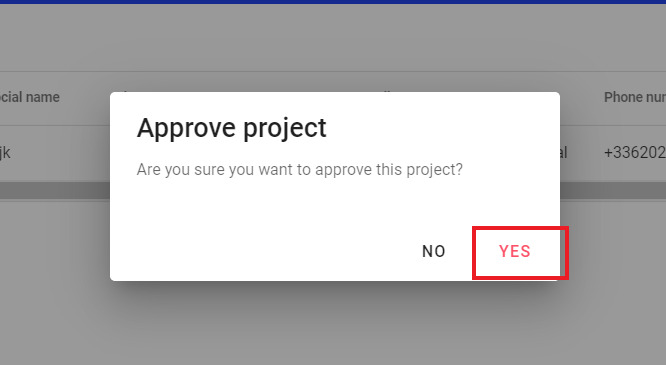
Finally, open the menu once again and click on Approve project and confirm.
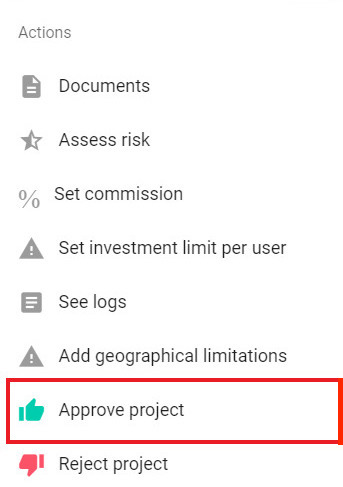
INFO
If the risk assessment and the commission are not set, you will then be prompted to do it before this action.
This action will change the project status from
SUBMITTEDtoPRIVATE_SALEorPUBLIC_SALE(depending on the date of the sale set by the borrower,project.publicSaleAt). A wallet will also be created and its ID added to the project data.The owner of the project will be notified by email.
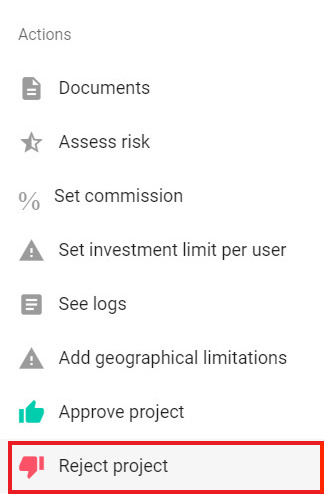
# Reject a project
Find the project using the menu Quick filter. Projects to reject have the status
SUBMITTED. Select the option status = SUBMITTED and click on ADD.Open the menu of actions.
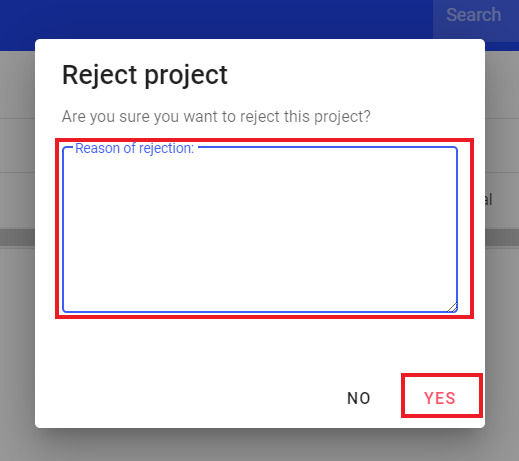
Click on Reject project. You might reject a project in case the borrower did not provide valid information and/or documents.
Type the reject reason and click on Yes. This reject reason is displayed to borrower.
INFO
This action will change the project status from
SUBMITTEDtoREJECTEDand the owner of the project will be notified by email.
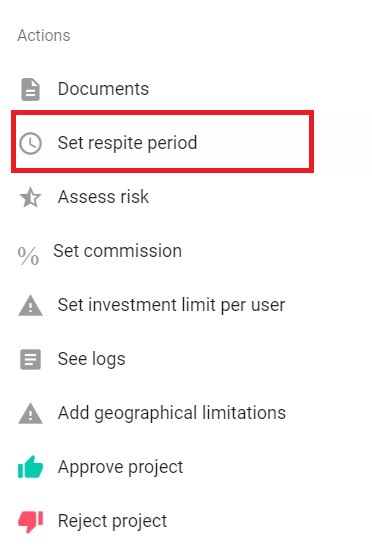
# Set respite period
Find the project using the menu Quick filter. Projects to set respite period have the status
SUBMITTED. Select the option status = SUBMITTED and click on ADD.Open the menu of actions.
Click on Set respite period. You can only see this option if project is CONSTANT_ANNUITY.
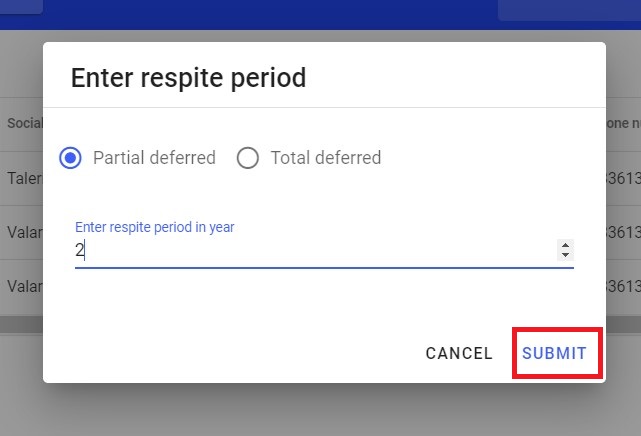
Select the type of respite period and enter the period in years and click on Submit. This action will update the project respite period.
# User management
# List users
From left side menu, click on Borrower / Organization lender / Individual lender depending on the type of user you are looking for.

The users are displayed in a table with various columns.
# Find a user
You can filter users by profile status using the menu Quick filter.
It is also possible to fine-grained filter the users using the menu Custom filter next to the menu Quick filter.
Finally use the search field to quickly find the desired user.
# Perform actions on a user
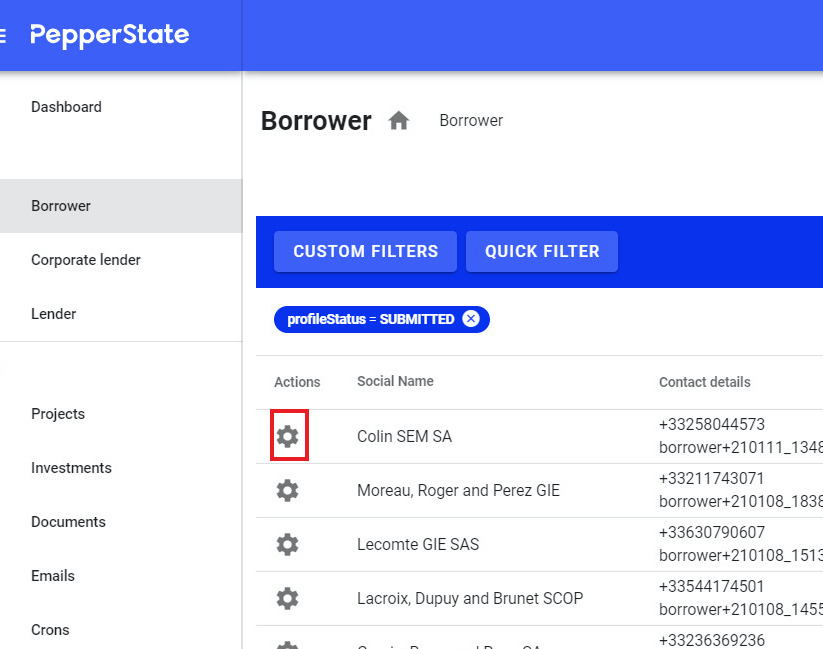
Click on the gear icon of the desired user.
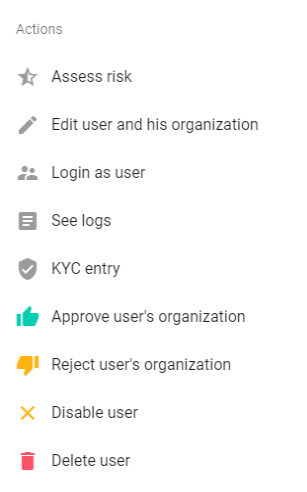
A menu with all the actions will open. This list of actions varies depending on the state of the user.
# Approve a borrower
Find the user to approve using the menu Quick filter. Borrowers to approve have the status
SUBMITTED. Select the option profileStatus = SUBMITTED and click on ADD.Use the search field to quickly find the desired borrower.
Once found, open the menu of actions.
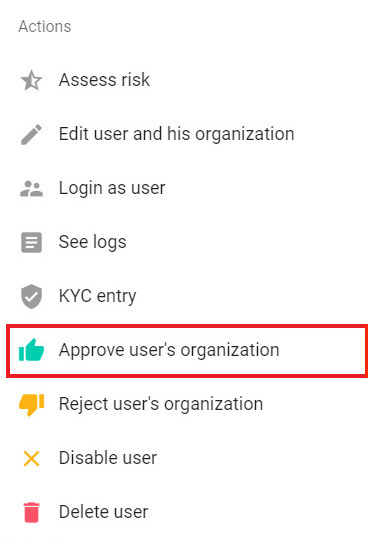
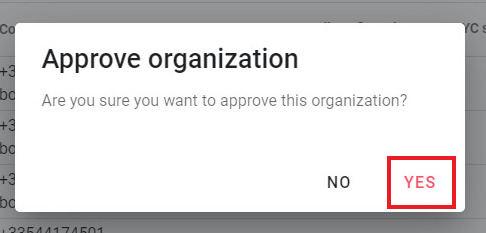
Click on Approve user's organization and YES to approve the borrower.
INFO
This action will change the profile status of the organization from
SUBMITTEDtoWALLET_CREATED. A wallet will also be created and its ID added to the user and organization data.The profile status will then eventually get changed again by the hooks documents MANGOPAY or the cron CronUpdateKYCStatuses LEMONWAY. The new status being
APPROVED.
# Reject a borrower
Find the user to reject using the menu Quick filter. Borrowers to reject have the status
SUBMITTED. Select the option profileStatus = SUBMITTED and click on ADD.Use the search field to quickly find the desired borrower.
Once found, open the menu of actions.
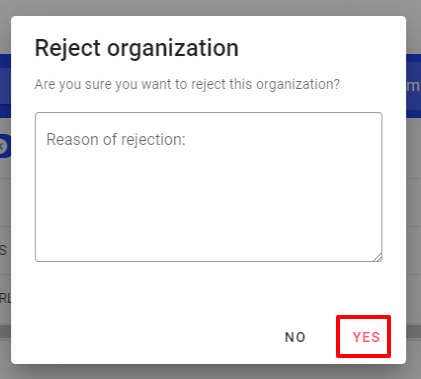
Click on Reject user's organization. You might reject a borrower in case the user did not provide valid information and/or documents.

Type the reject reason and click on YES. This reject reason is displayed to the borrower.
INFO
This action will change the profile status of the organization from
SUBMITTEDtoREJECTEDand the borrower will be notified by email
# Approve a lender
TIP
Although a lender can be with or without an organization, approving a lender is the same process regardless the type.
Find the user to approve using the menu Quick filter. Lenders to approve have the status
SUBMITTED. Select the option profileStatus = SUBMITTED and click on ADD.Use the search field to quickly find the desired lender.
Once found, open the menu of actions.
Click on Send risk assessment email.

TIP
A lender can only be approved if:
- the profile is submitted
- the risk assessment is signed
INFO
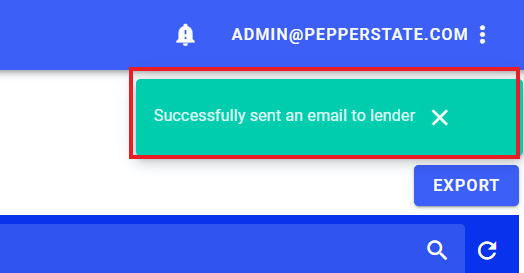
This action will generate a PDF for the risk assessment and send it to the lender by email. A Yousign procedure is attached to this document so the user has to sign it in order to go any further with the platform.
You will then get a feedback.
⏳ Wait for the lender to sign the risk assessment.
Once again, open the menu of actions.
Click on Approve user's organization / Approve user and YES to approve the lender.
INFO
This action will change the profile status of the user / organization from
SUBMITTEDtoWALLET_CREATED. A wallet will also be created and its ID added to the user and organization data.You are not done yet! MANGOPAY
INFO
If the payment service provider is Mangopay, you still need to approve the user on Mangopay in order to make it fully
APPROVED.
# Reject a lender
Find the user to approve using the menu Quick filter. Lenders to reject have the status
SUBMITTED. Select the option profileStatus = SUBMITTED and click on ADD.Use the search field to quickly find the desired lender.
Once found, open the menu of actions.
Click on Reject user's organization / Reject user. You might reject a lender in case the user did not provide valid information and/or documents.
Type the reject reason and click on YES. This reject reason is displayed to the lender.
INFO
This action will change the profile status of the user / organization from
SUBMITTEDtoREJECTEDand the lender will be notified by email
# Approve a user on Mangopay
Find the user to approve using the menu Quick filter. The user should have the status
WALLET_CREATEDso select the option profileStatus = WALLET_CREATED and click on ADD.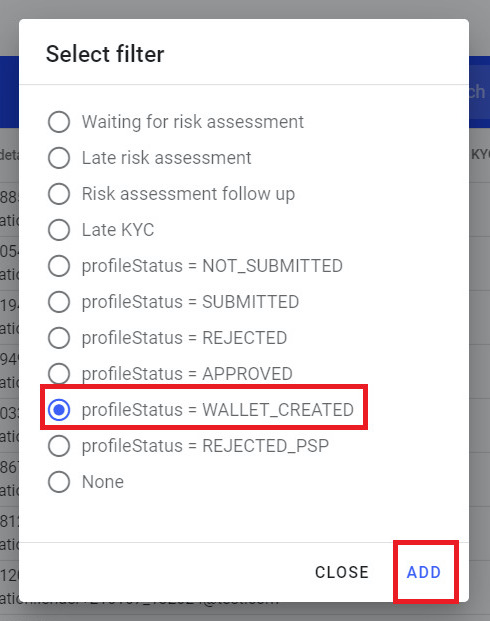
Copy the mangopay user id of the user in the "Mangopay user id" column.
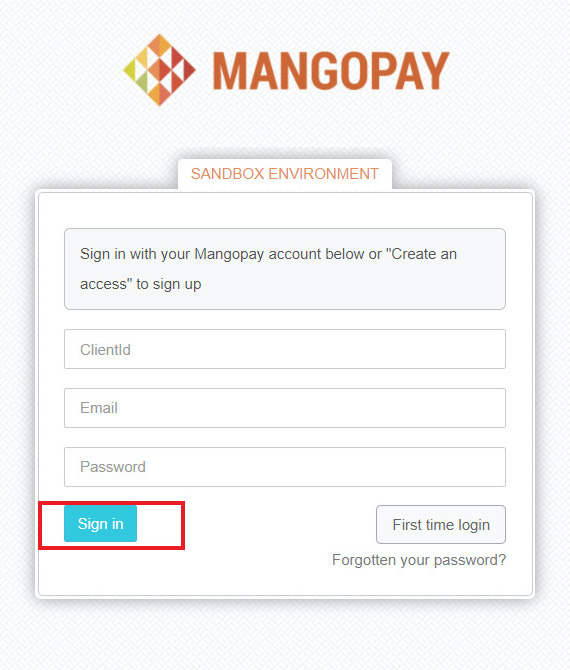
Now visit Mangopay back-office. Depending on your environment, you are either in normal (opens new window) or sandbox (opens new window) mode.
Login using your credentials.
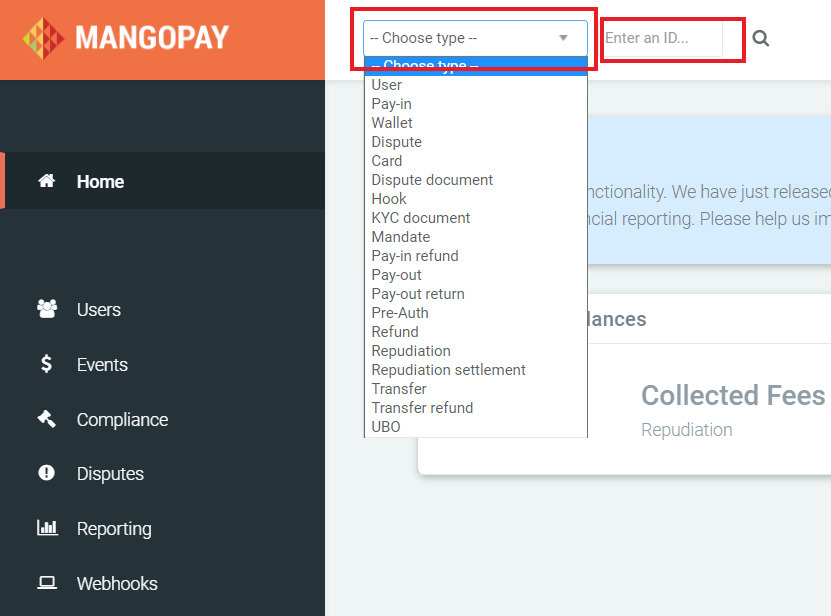
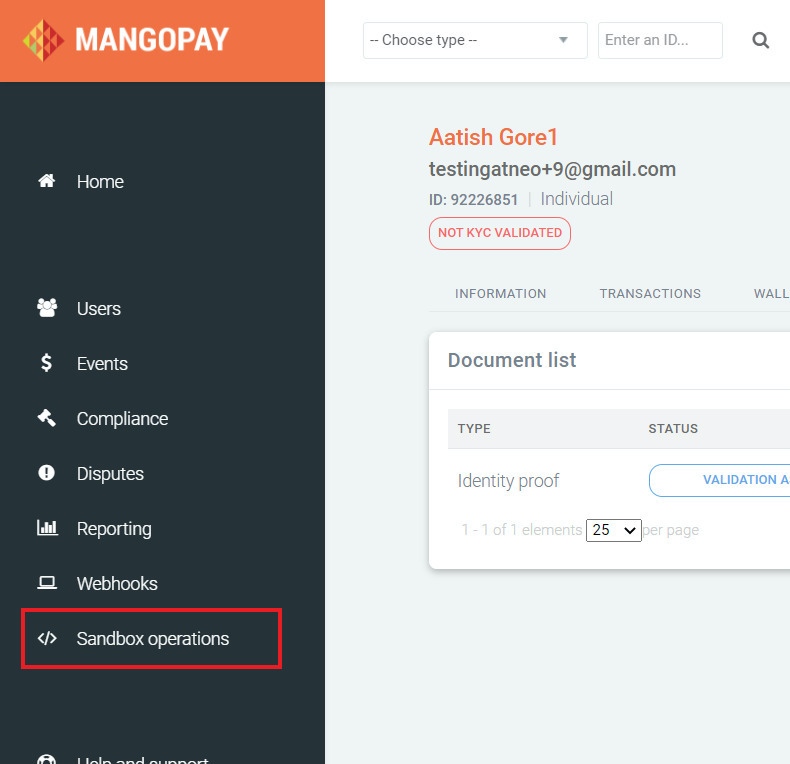
Choose type User in the select and paste the user id your previously copied from Admin panel.
Click on the KYC tab.
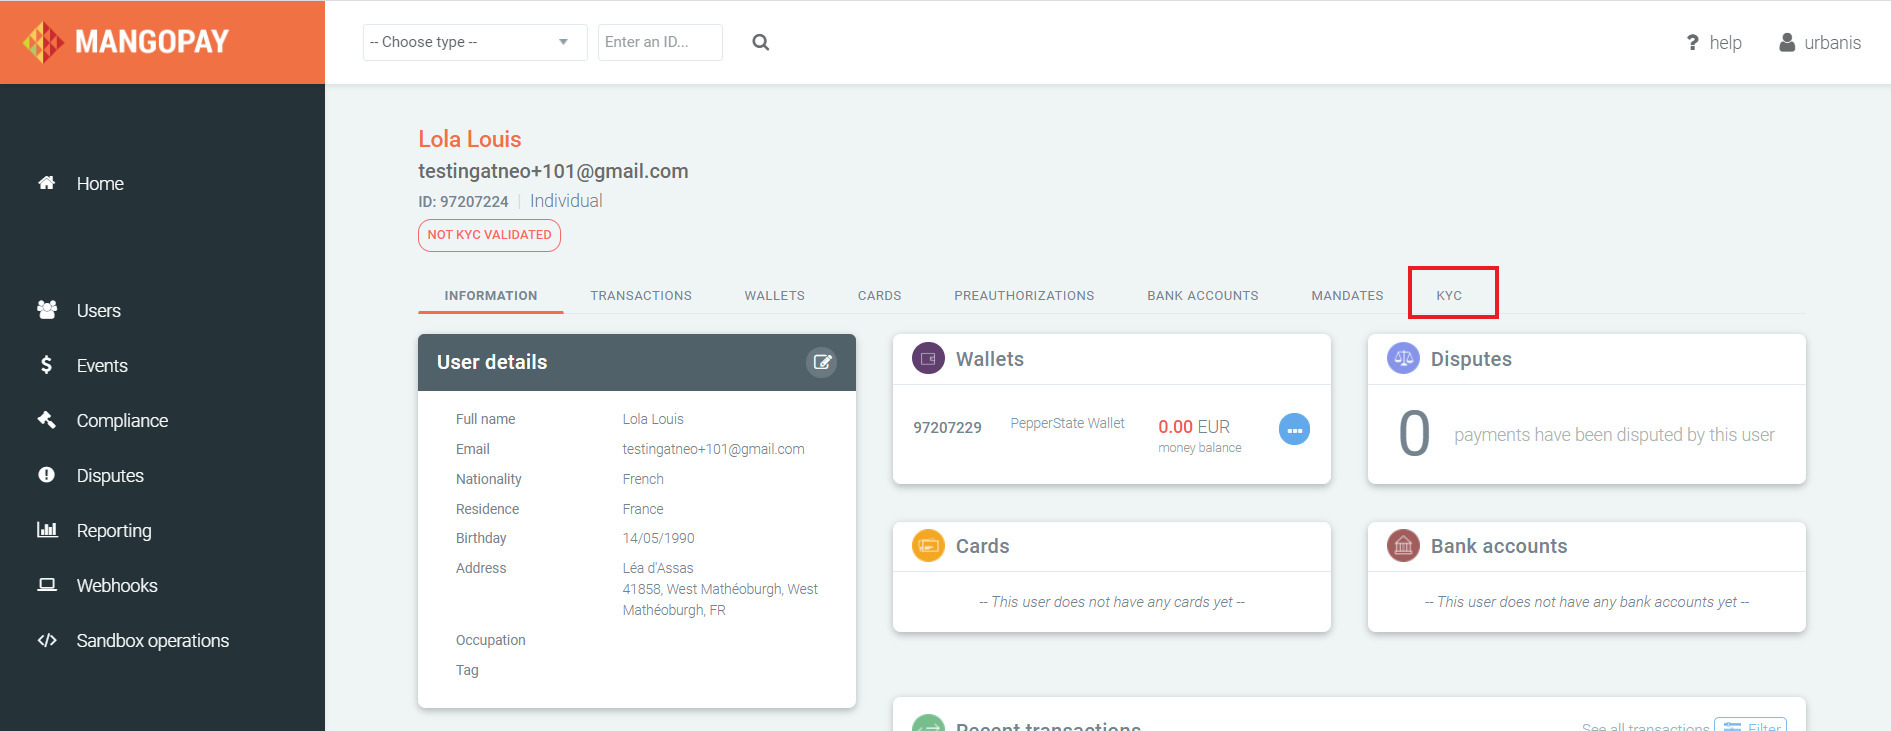
Wait until all the documents are uploaded.
TIP
The process of uploading documents gets executed by the cron CronUploadDocument.
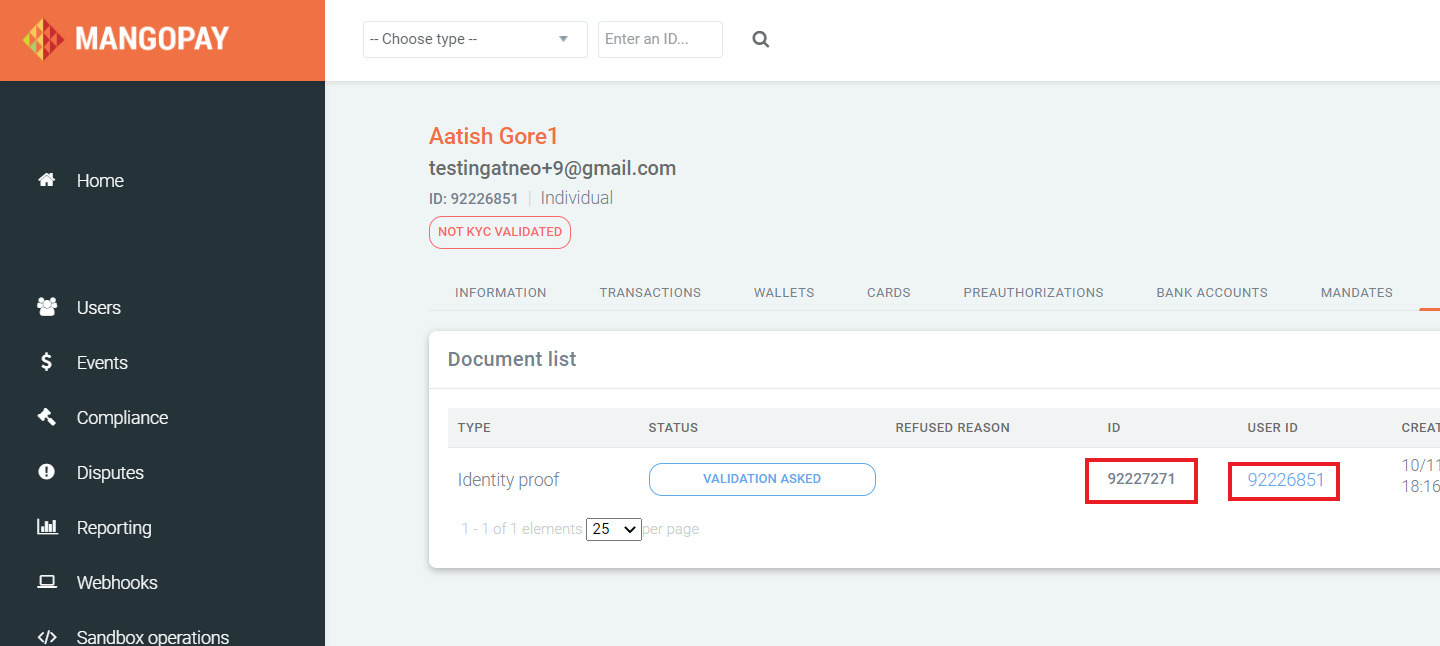
For each document:
Copy the document id and the user id once documents.
Click on sandbox operations.
Click on Process KYC document.
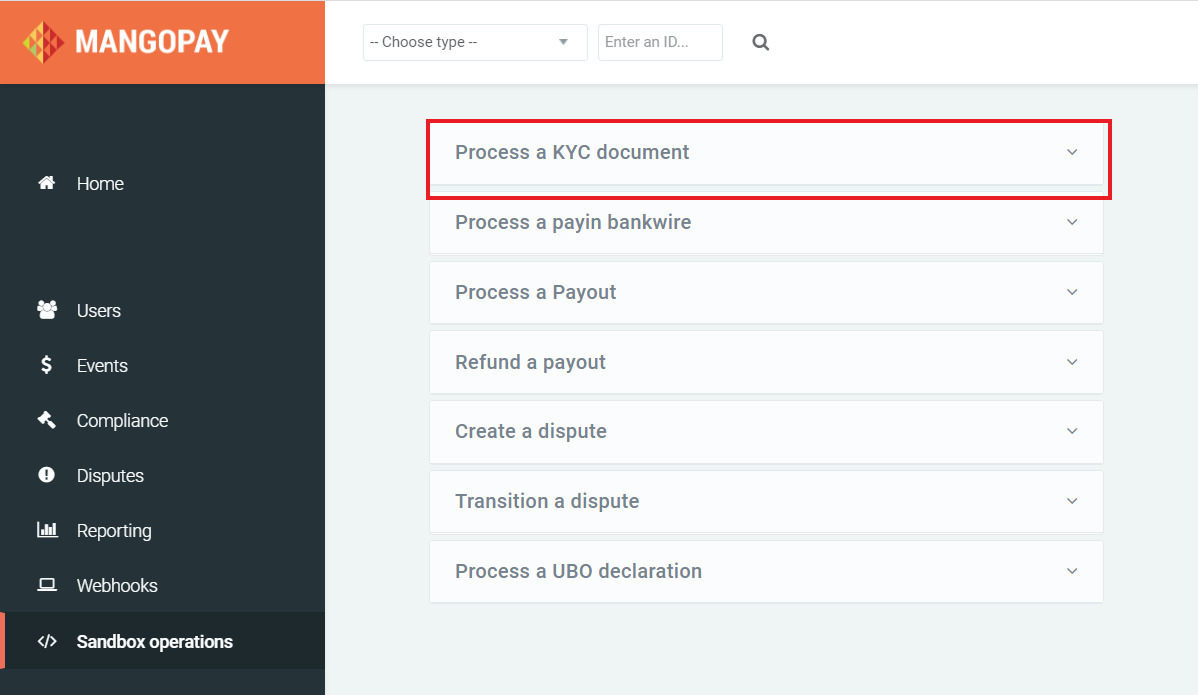
Paste the copied document id and user id, select accept the document and click on submit.

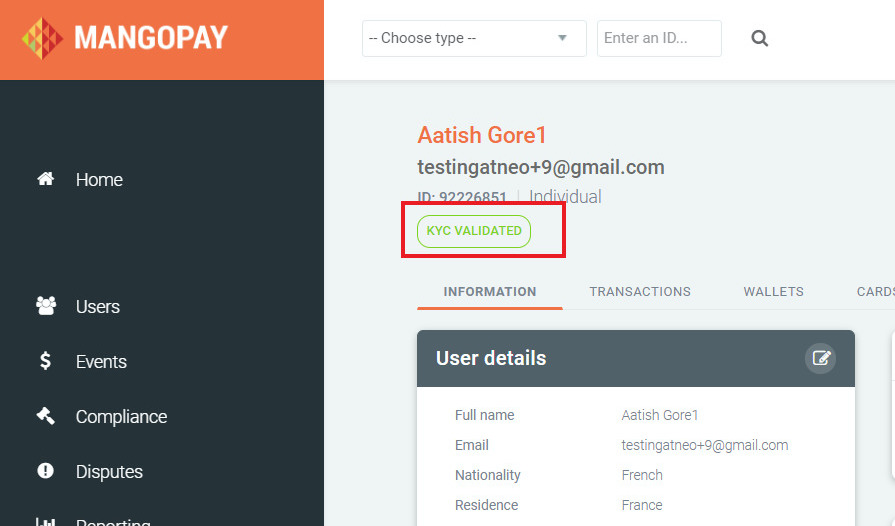
Choose type User in the select and paste the user id your previously copied from Admin panel.
The user status should be KYC validated now.
INFO
The profile status will then eventually get changed again by the hooks documents MANGOPAY or the cron CronUpdateKYCStatuses LEMONWAY. The new status being APPROVED.
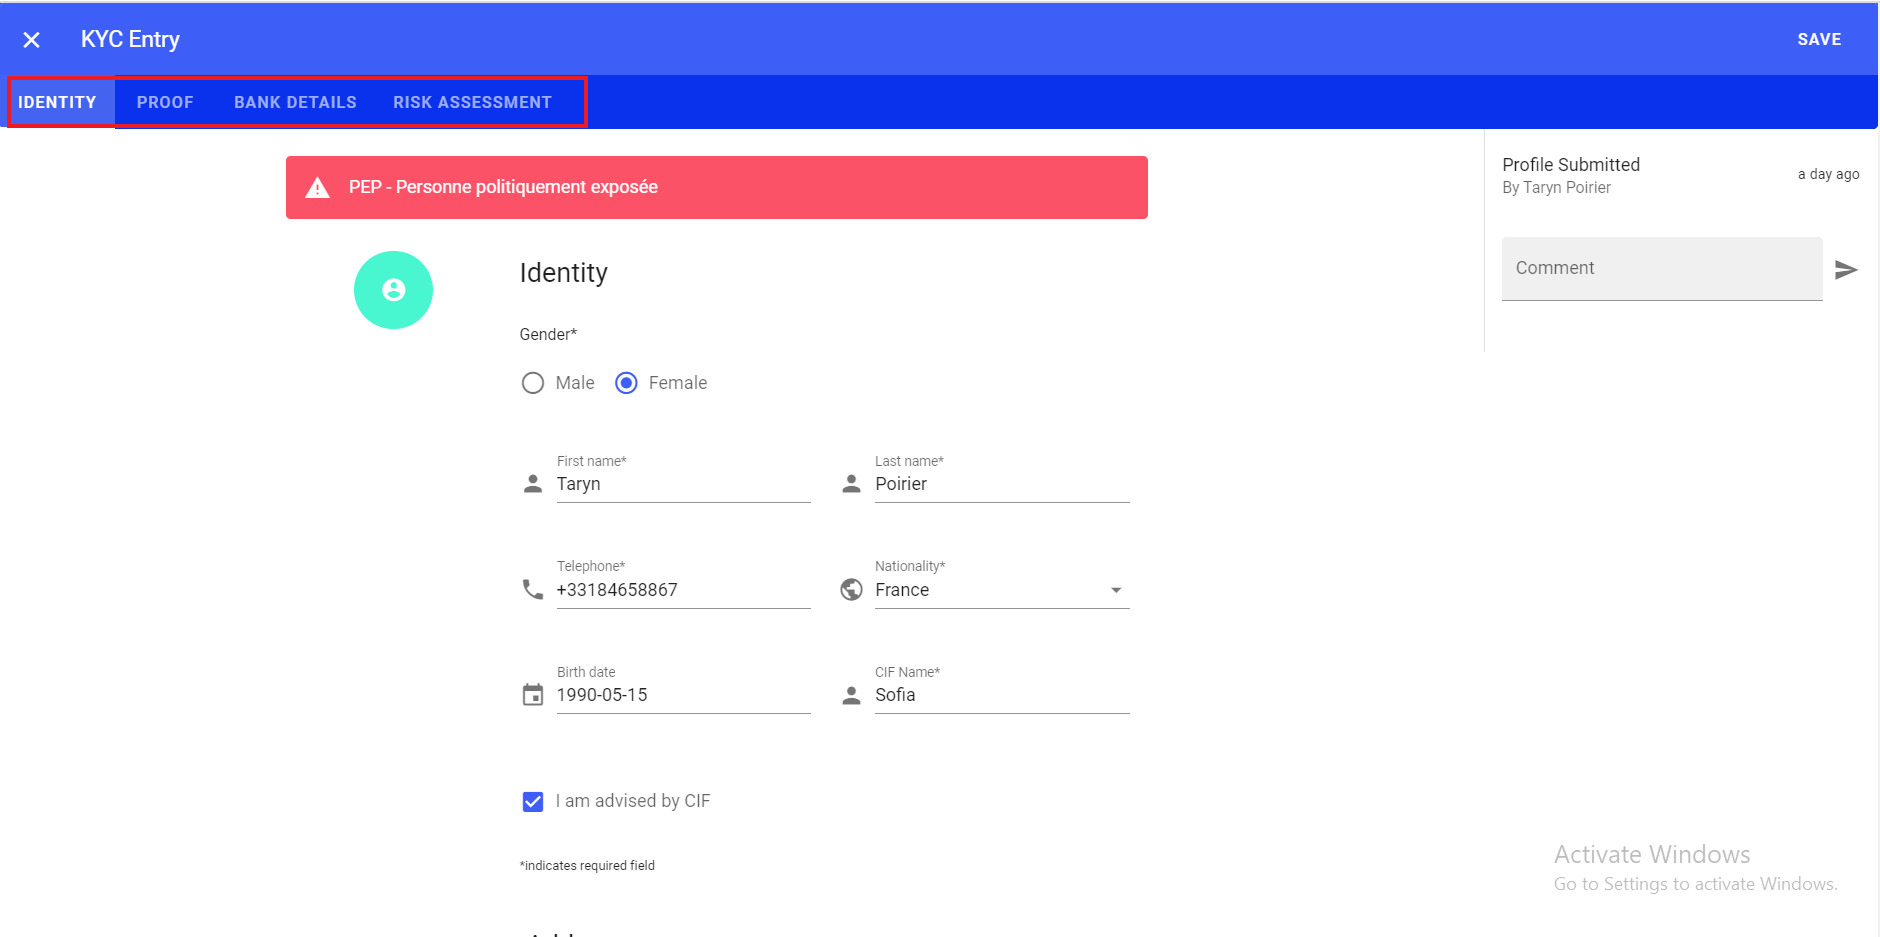
# Accessing KYC details / proofs of a lender
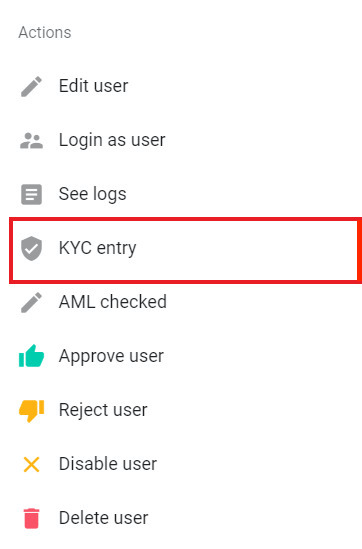
Once found, open the menu of actions.
Click on KYC Entry.
To view and edit KYC details, you can navigate through the tabs:
- IDENTITY
- PROOF
- BANK DETAILS
- RISK ASSESSMENT
# Upload, view and delete proof documents of the user.
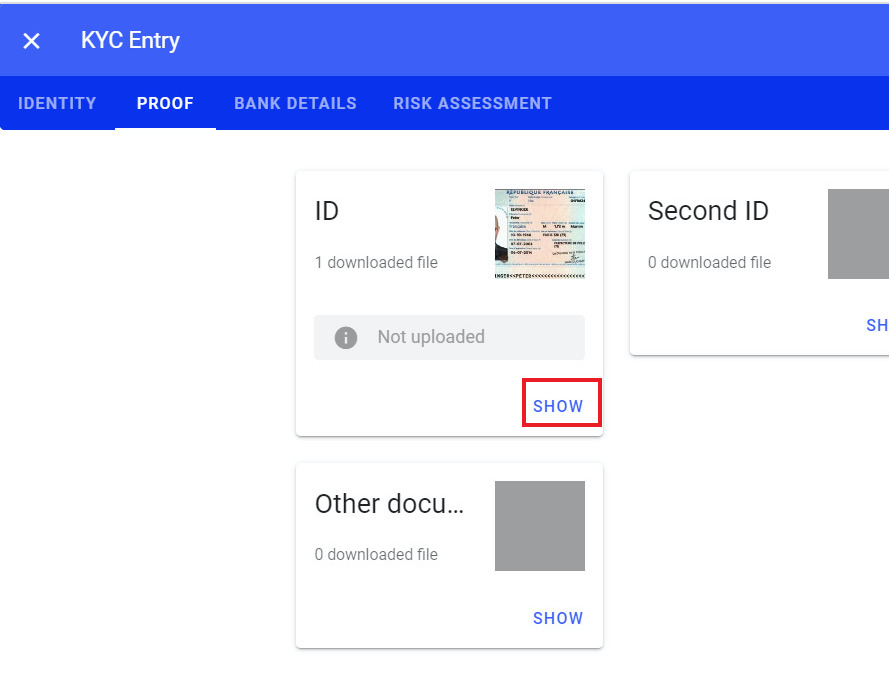
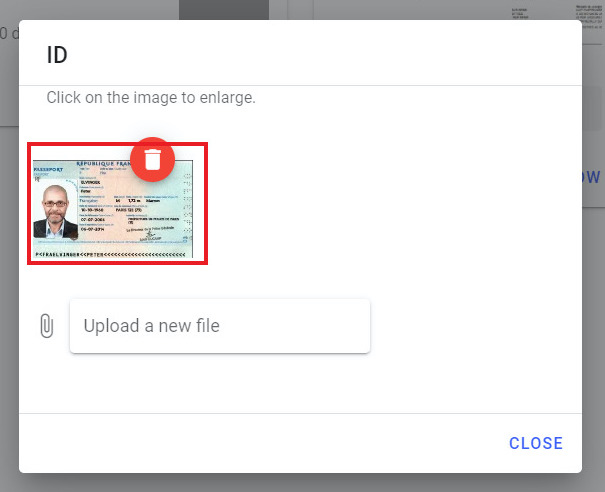
Click on the proof tab. Here admin can see all the proofs uploaded by the user.
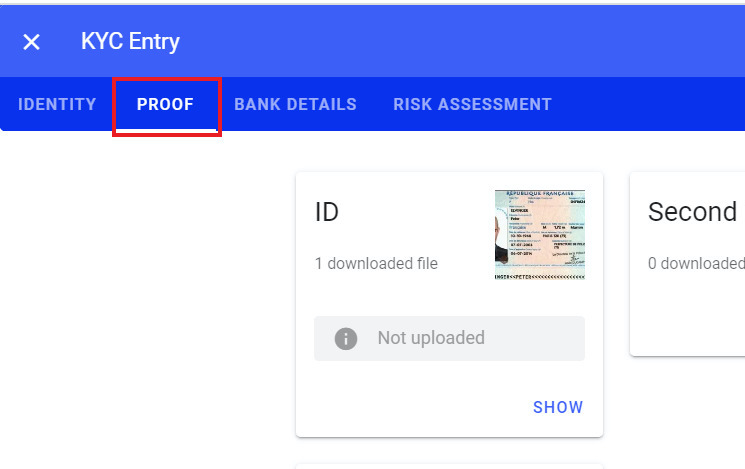
Click on the show button to view and upload new documents.
To delete the proof document, click on the trash icon at the top right corner.
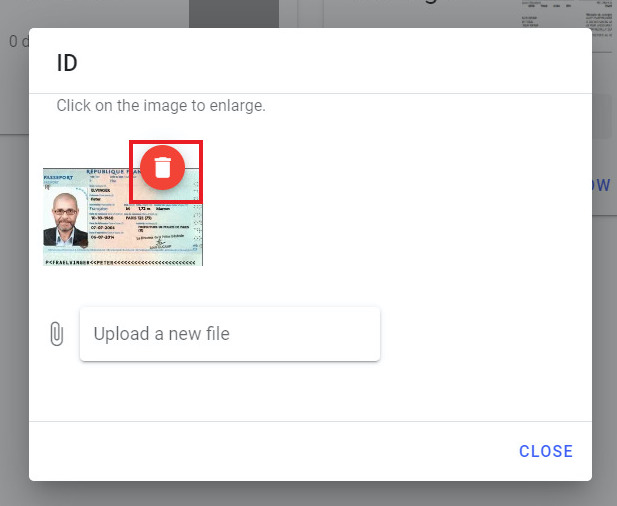
To view the proof document, click on the image.
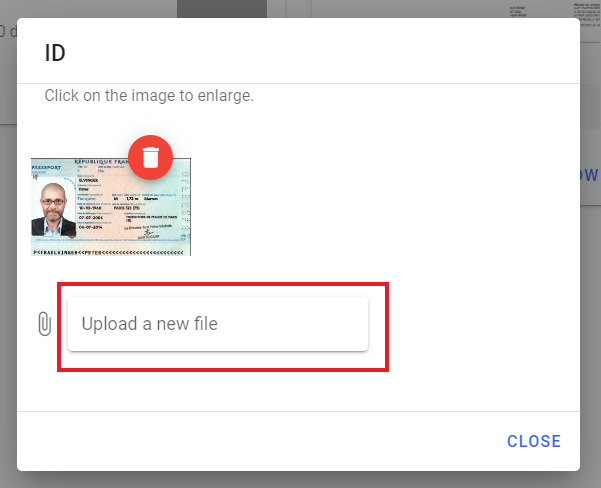
To upload a new proof document, click on upload a new file then select a file you want to upload.
# Edit user details
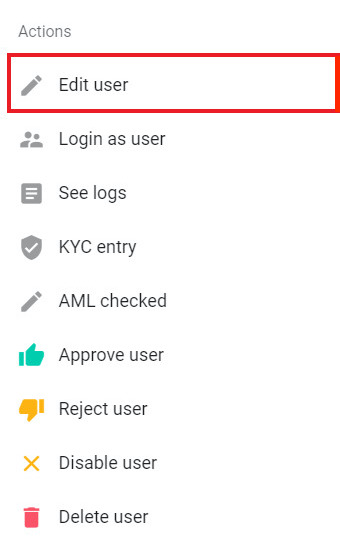
Once found, open the menu of actions.
Click on Edit user.
- Change the values as desired needed to be changed and click on SAVE to see the changes.
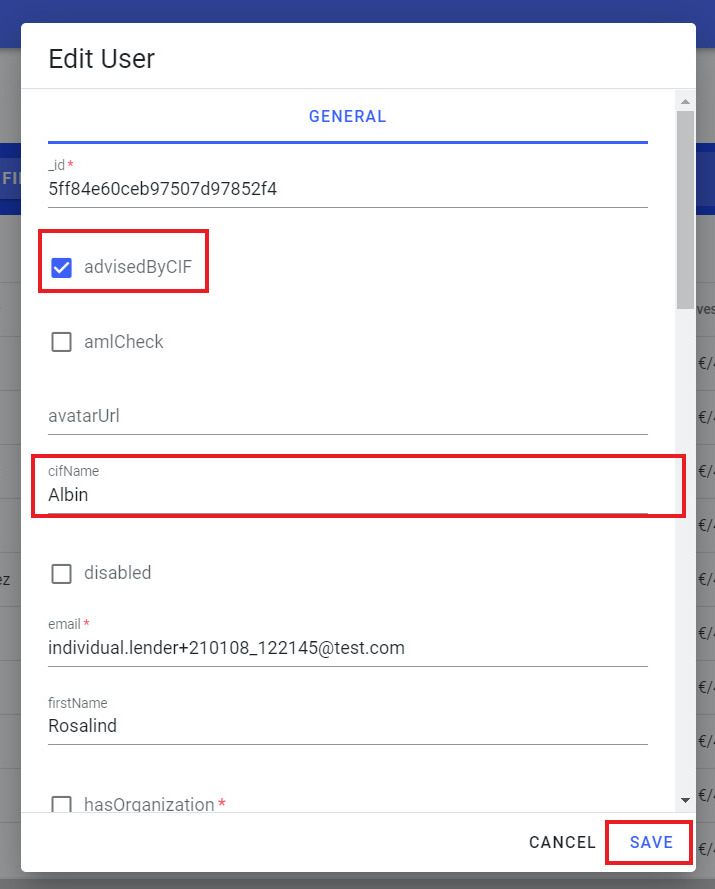
INFO
This action will also update the user on the payment service provider side.
# Documents management
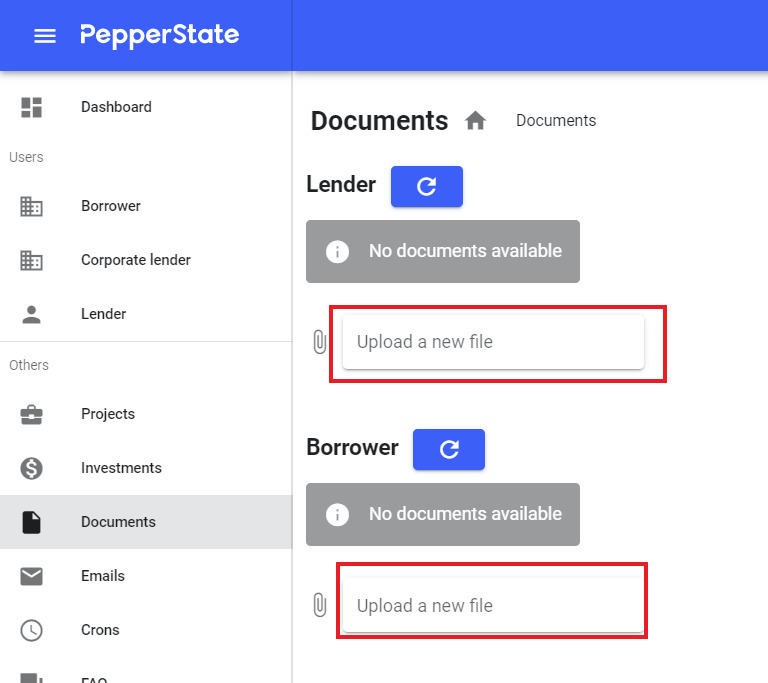
# Upload common documents for lenders / borrowers
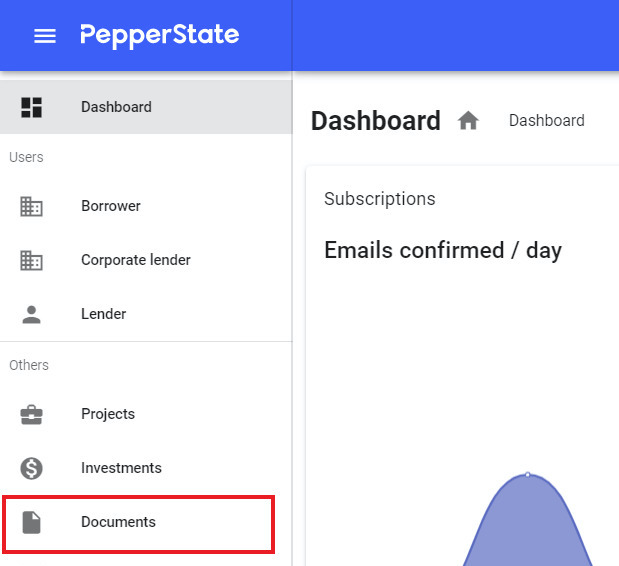
From the left side menu, click on Documents.
Click on upload a new file and select a file which needs to be uploaded.
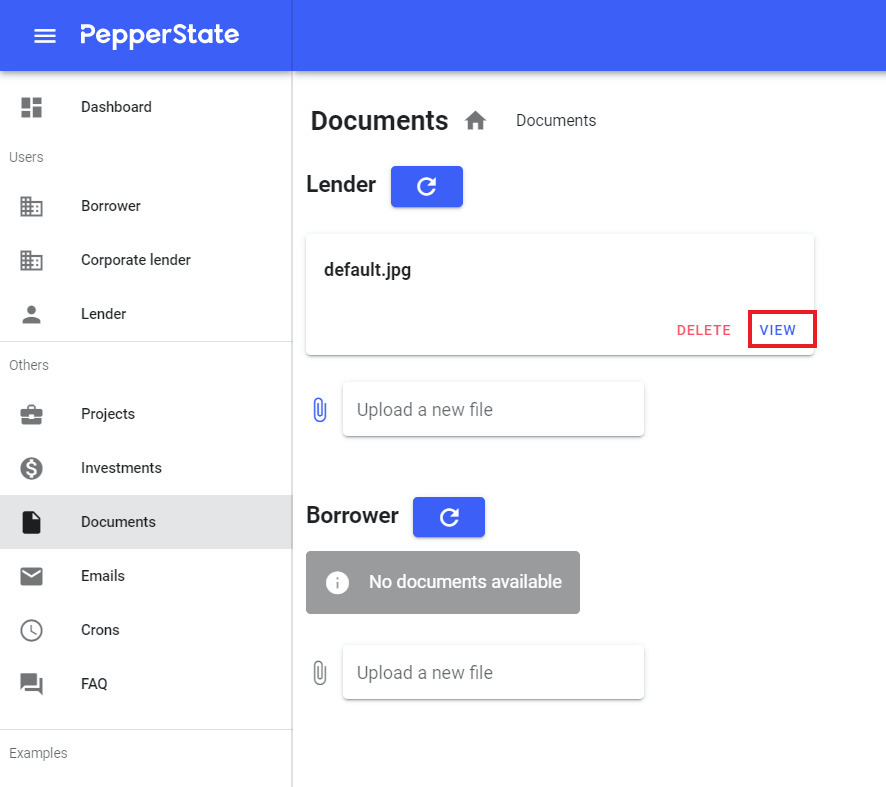
To confirm if a file is successfully uploaded, click on view.
# Investment management
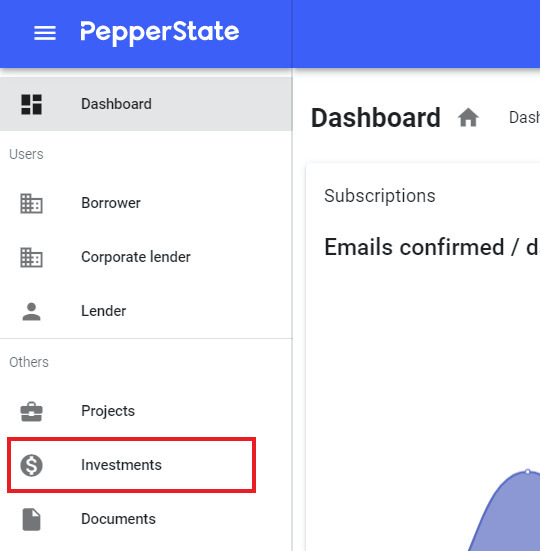
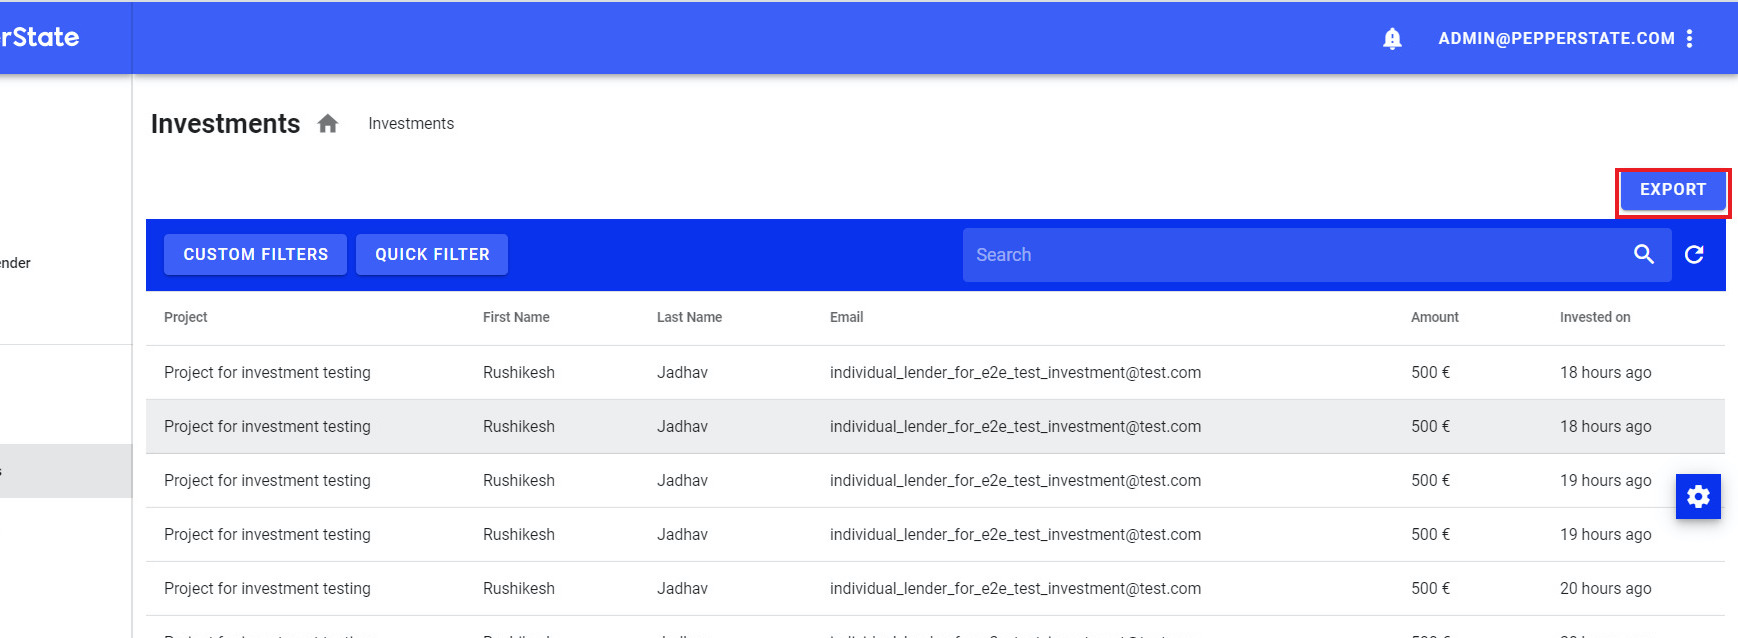
# Export investments
From the left side menu, click on Investments.
Click on the export button to export the csv file of investments.
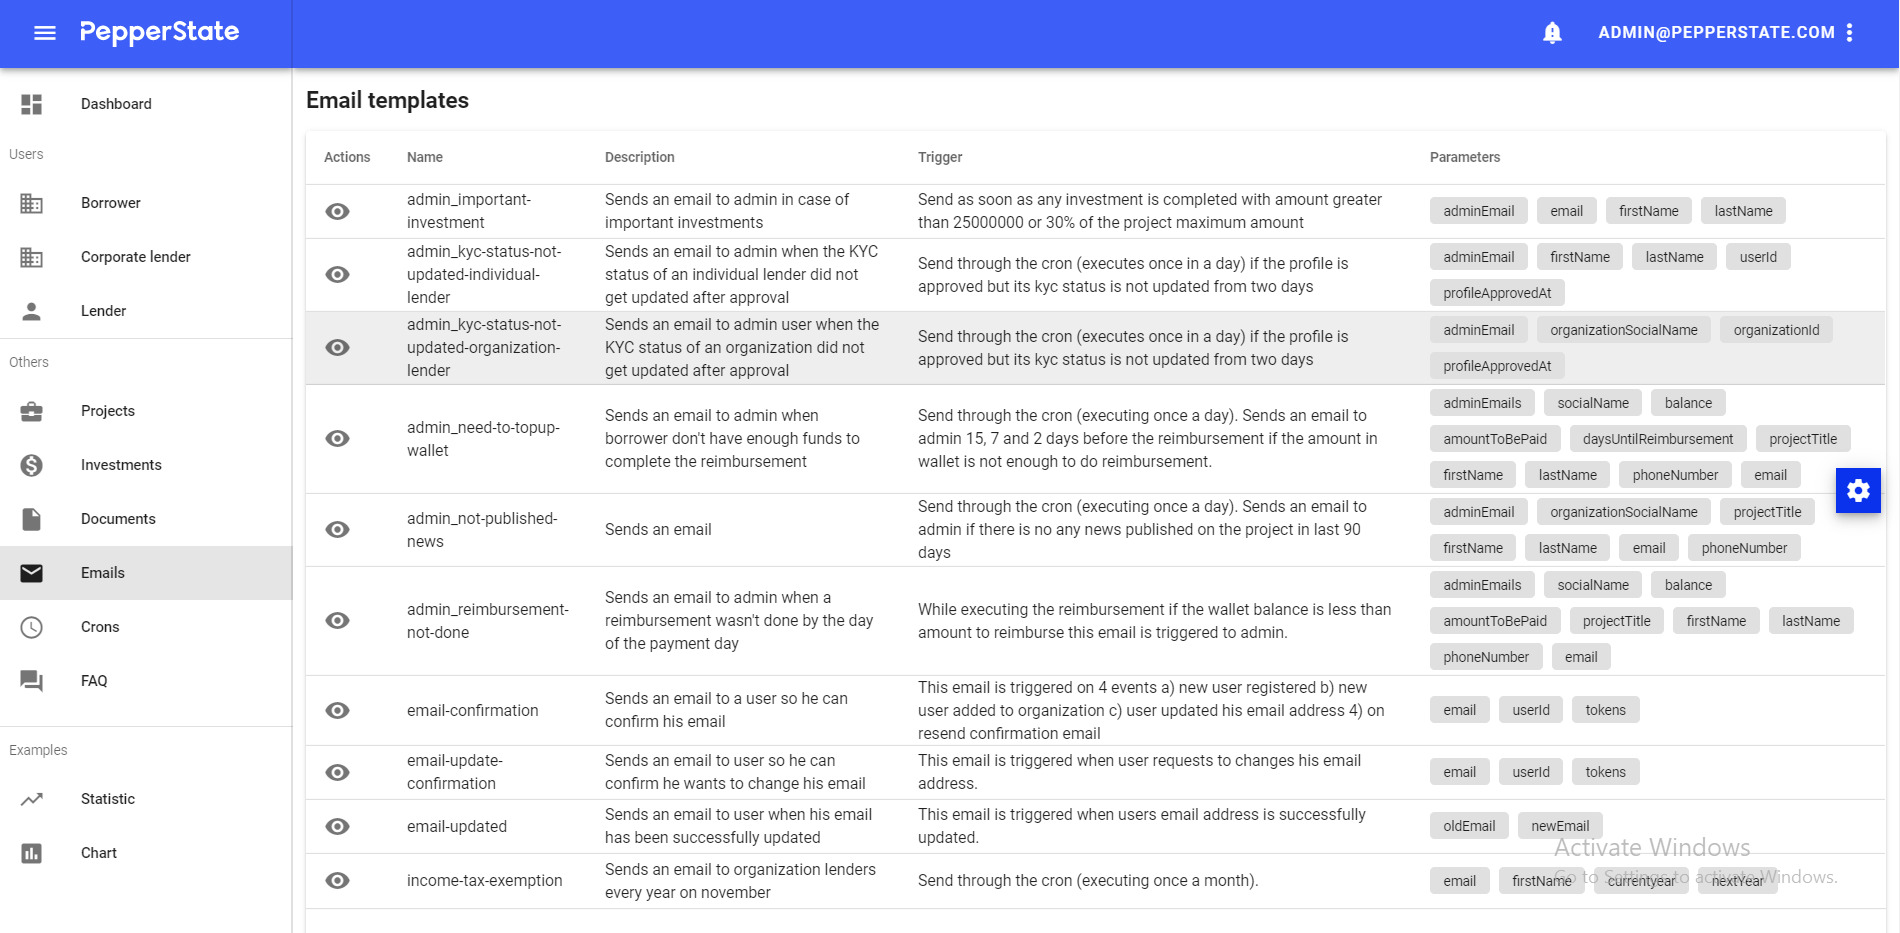
# Preview a template of email
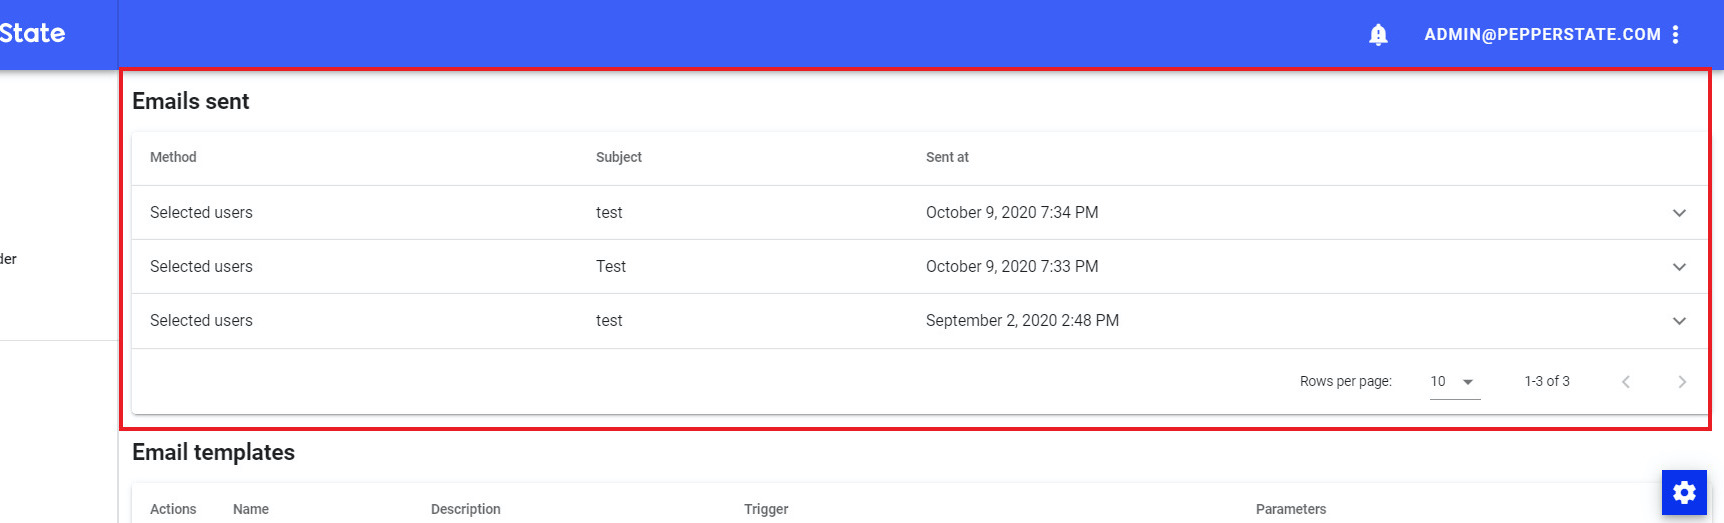
From the left side menu, click on Emails.

You will see the list of emails sent to the users.
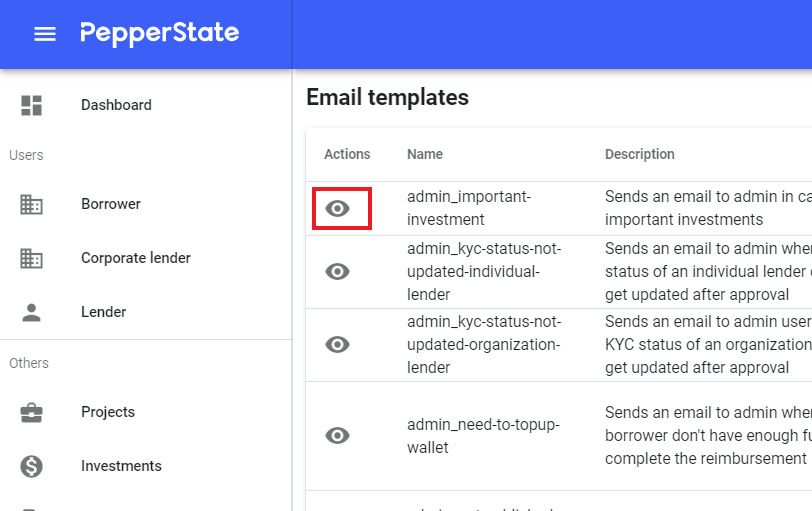
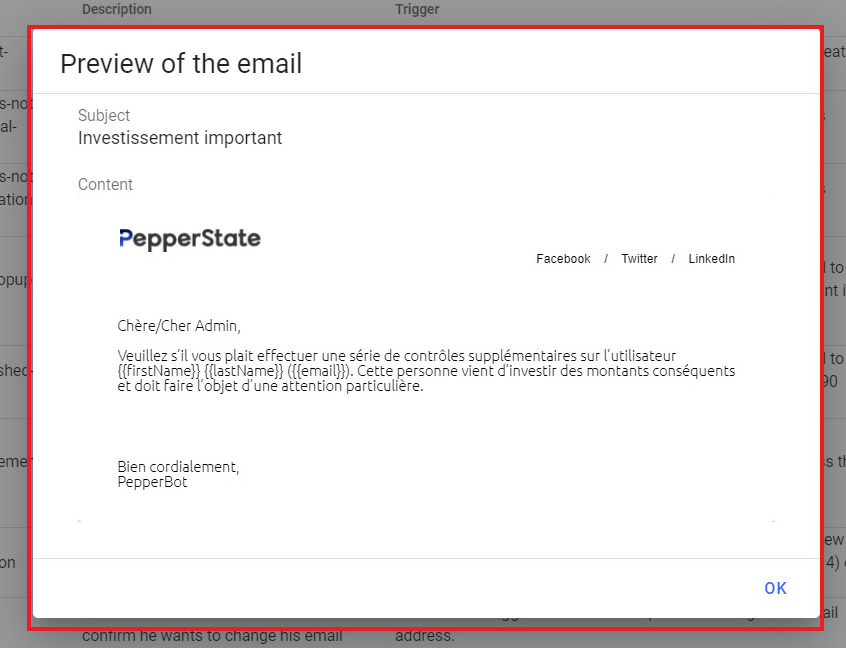
To see a preview of the email, click on the eye icon.
A dialog with the preview will open.
# Send email to multiple users
From the left side menu, click on Emails.
Click on the selected users option and input targeted user emails.
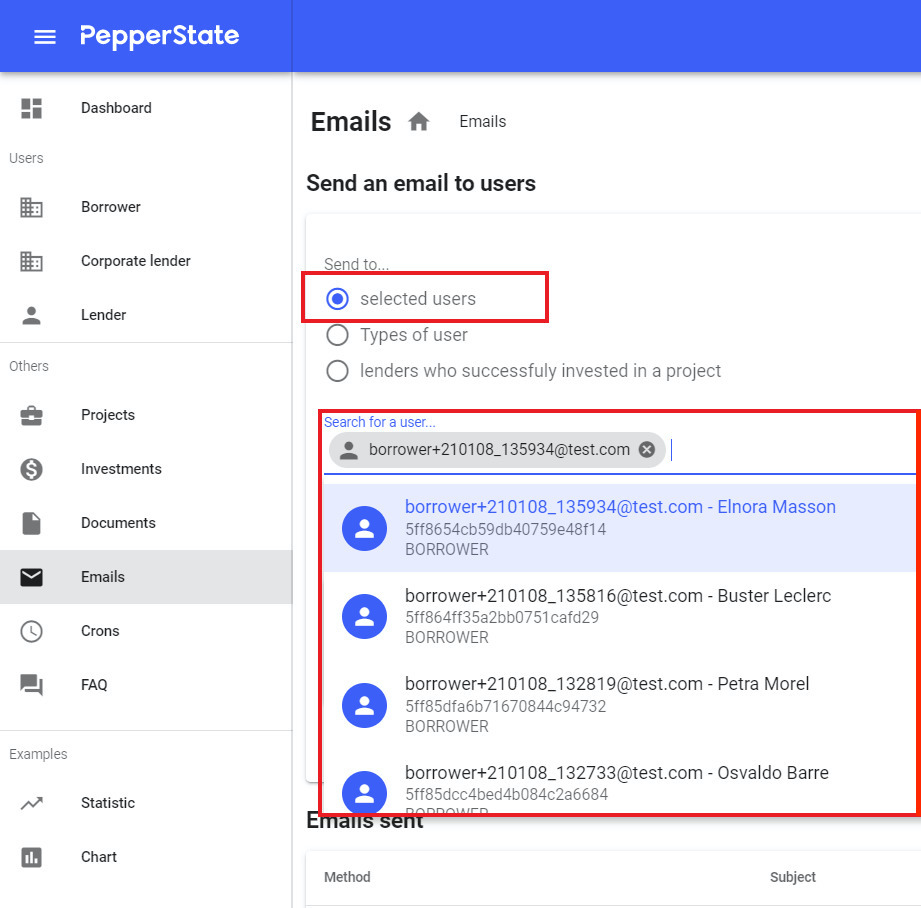
TIP
Note that you can choose to send to selected type of user or to lenders who successfully invested in a project.
Write the subject and content of the email and click on SEND.
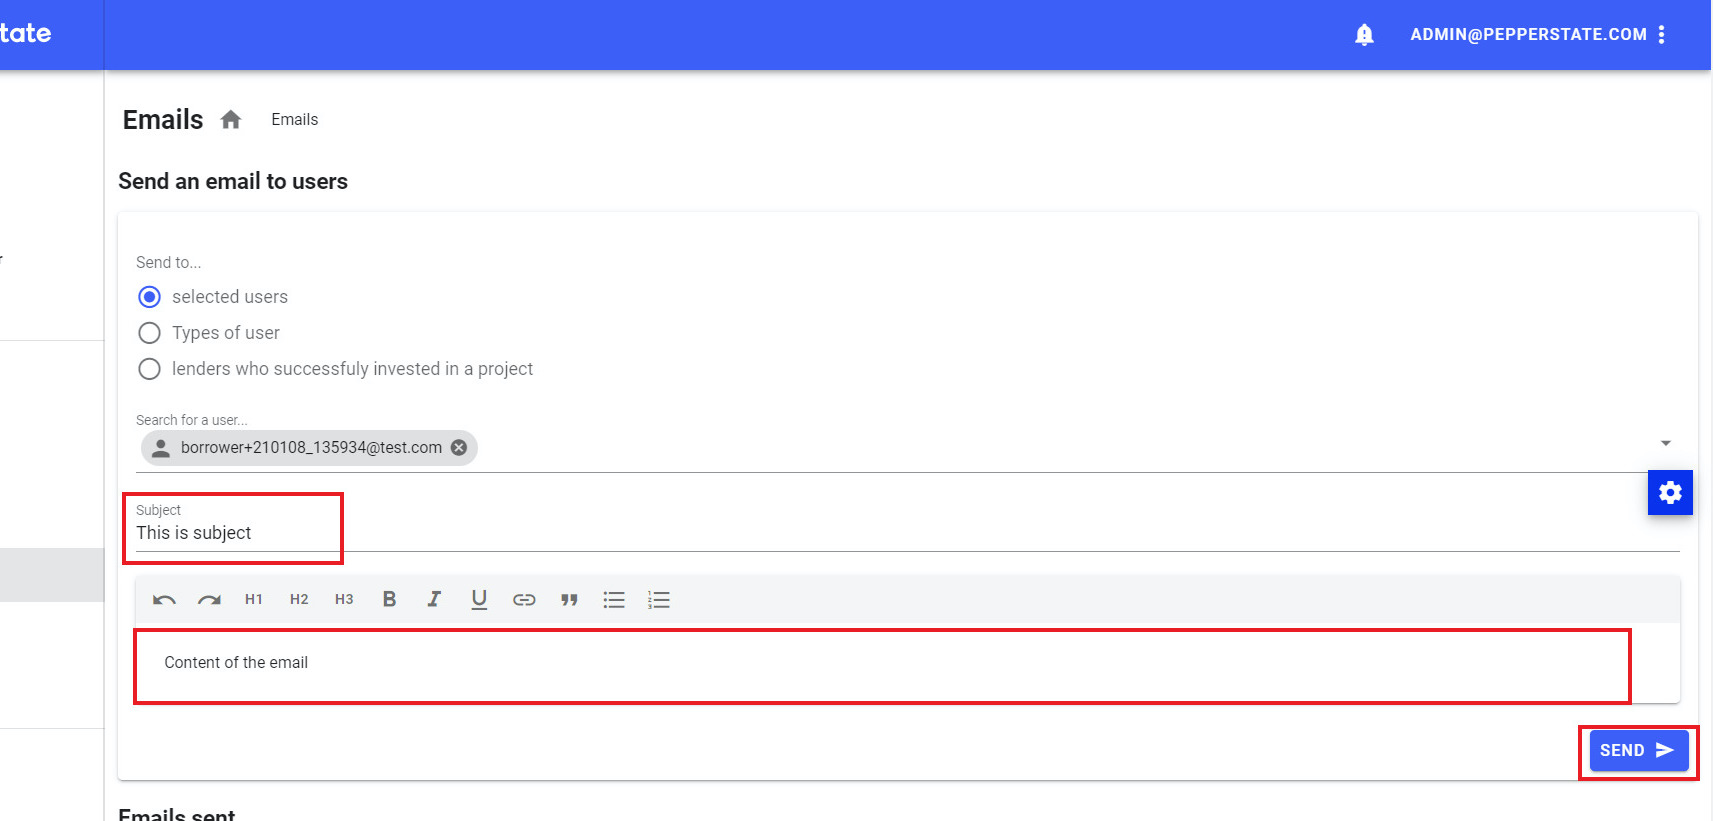
Take a look at the preview and make sure everything is correct. You can then click on SEND.

The email will then appear in the list of Emails sent.